CloudFlare SSL/TSL Modes and How to Use Them
CloudFlare has following SSL/TSL modes:
- Off - no encryption
- Flexible - encrypts traffic between the browser and Cloudflare
- Full - encrypts end-to-end, using a self signed certificate on the server
- Full (Strict) - encrypts end-to-end, but requires a trusted CA or Cloudflare Origin CA certificate on the server
Also this settings can be overriden in page rules section, so for example one subdomain might work in flexible mode and another in full
For experiments we have dedicated VM with a public network and subdomain
- IP:
161.35.222.169 - DNS:
cf.mac-blog.org.ua
On server all we did is:
apt update
apt install -y nginx
curl http://161.35.222.169
Flexible
Is the easiest way to become "secure"
Cloudflare will handle all TLS related things and you do not to do anything at all
Underneath it will be something like:
Take a note that if user knows server ip address he can send requests directly to it bypassing cloudflare
Cloudflare has a list of its ip addresses so we can do something like:
/etc/nginx/cloudflare.conf
allow 173.245.48.0/20;
allow 103.21.244.0/22;
allow 103.22.200.0/22;
allow 103.31.4.0/22;
allow 141.101.64.0/18;
allow 108.162.192.0/18;
allow 190.93.240.0/20;
allow 188.114.96.0/20;
allow 197.234.240.0/22;
allow 198.41.128.0/17;
allow 162.158.0.0/15;
allow 104.16.0.0/13;
allow 104.24.0.0/14;
allow 172.64.0.0/13;
allow 131.0.72.0/22;

allow 2400:cb00::/32;
allow 2606:4700::/32;
allow 2803:f800::/32;
allow 2405:b500::/32;
allow 2405:8100::/32;
allow 2a06:98c0::/29;
allow 2c0f:f248::/32;

deny all;
And inside our site config add somewhere this line:
include /etc/nginx/cloudflare.conf;Reload nginx: systemctl reload nginx
And test it from outside: curl --resolve cf.mac-blog.org.ua:80:161.35.222.169 http://cf.mac-blog.org.ua/
If everything ok you should receive forbidden response, but if you open it in browser, everything will work fine
Full
This time our schema will look like
First of all we need self signed certificate:
openssl req -subj "/CN=cf.mac-blog.org.ua/" -newkey rsa:2048 -nodes -keyout tls.key -x509 -days 365 -out tls.pemNotes:
- this cert without
SANso can be used only for a givenCN tls.keywill hold private key which should be keept safetls.pemis a certificate which may be publisheed
And here is config:
server {
        # for experiment to be sure that cloudflare will not land here
        # listen 80 default_server;
        # listen [::]:80 default_server;

        # added
        listen 443 ssl default_server;
        listen [::]:443 ssl default_server;
        ssl_certificate /etc/nginx/tls.pem;
        ssl_certificate_key /etc/nginx/tls.key;

        # include /etc/nginx/cloudflare.conf;

        root /var/www/html;
        index index.html index.htm index.nginx-debian.html;

        server_name _;

        location / {
                try_files $uri $uri/ =404;
        }
}
Now your server should listen only 433 but not 80, e.g:
curl https://cf.mac-blog.org.ua/Also you can watch for logs:
tail /var/log/nginx/access.log -fYou will see your requests, comming from cloudflare ip addresses
Lets try to bypass cloudflare
curl --resolve cf.mac-blog.org.ua:80:161.35.222.169 http://cf.mac-blog.org.ua/
# curl: (7) Failed to connect to cf.mac-blog.org.ua port 80: Connection refused

curl --resolve cf.mac-blog.org.ua:443:161.35.222.169 https://cf.mac-blog.org.ua/
# curl: (77) schannel: next InitializeSecurityContext failed: SEC_E_UNTRUSTED_ROOT (0x80090325) - The certificate chain was issued by an authority that is not trusted.

curl -k --resolve cf.mac-blog.org.ua:443:161.35.222.169 https://cf.mac-blog.org.ua/
# works - but only because we commented out cloudflare ip rules
Strict
Is same as Full, the only difference now that CloudFlare wont believe self signed requests and will require valid certificates, or certificates signed by CloudFlare
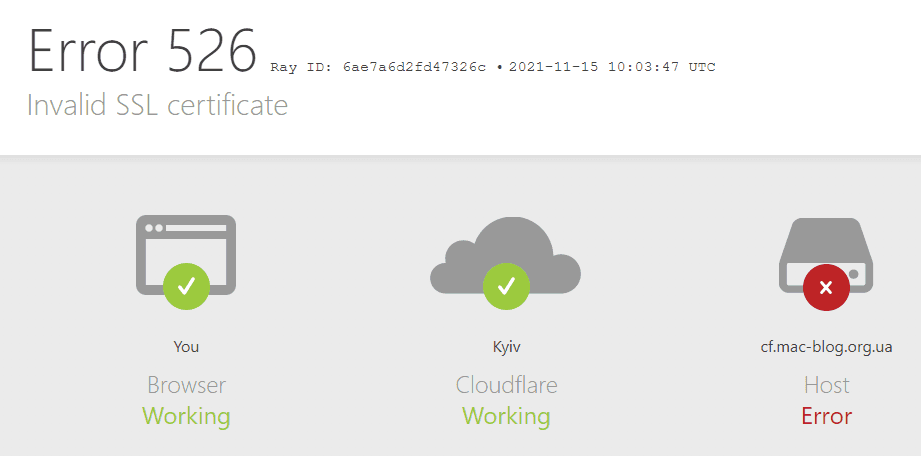
If you turn this on, immediatelly you will start receive invalid certifiacte errors
There are two options, you can let cloudflare to do its work and generate certs for you, or you can create private key and certificate signing request and ask cloudflare to sign it
Cloudflare Strict - aka LetsEncrypt for 15 years
Easiest way will be to let Cloudflare generate certs, good thing here is that by default they are generated for 15 year, yep it might be not secure but for home lab it is much better than 1 month certs from letsencrypt
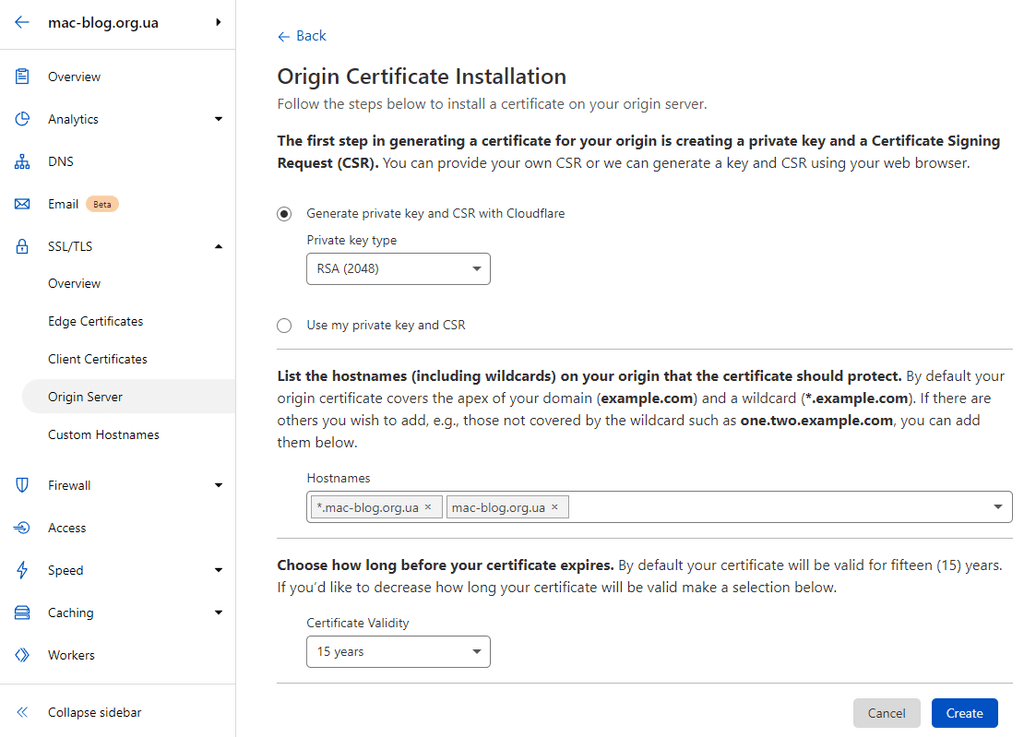
So navigate to SSL/TLS \ Origin Server \ Origin Certifiacetes \ Create Certificate
Leave all settings as is and press Create button
Replace contents of tls.pem and tls.key created earlier by Origin Certificate and Private Key respecively and reload nginx
And everything should work again
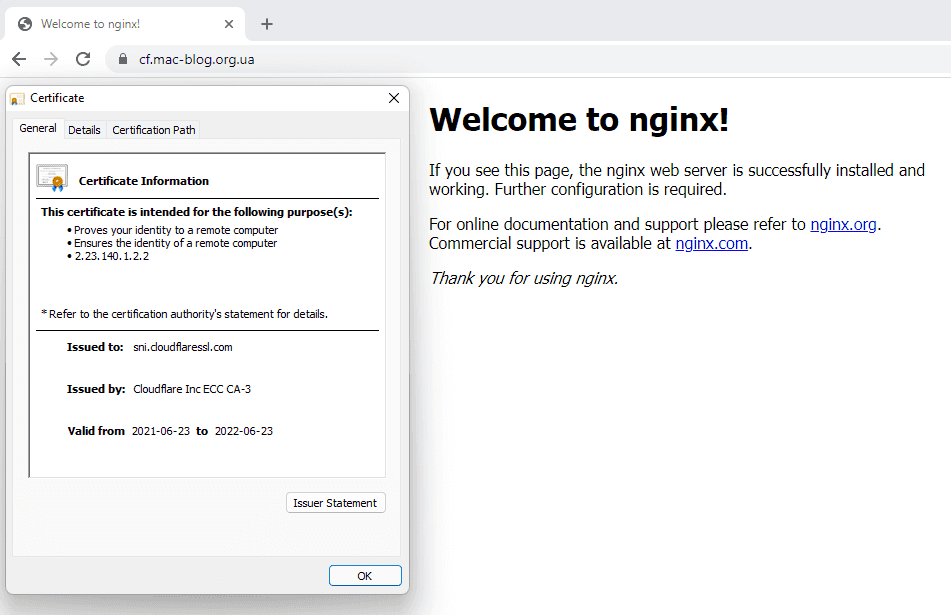
Note that technically it is same as with self signed certificates, so if you will try to bypass cloudflare it will behave exactly the same, the only difference here is that this certificate is trusted by cloudflare out of the box
Cloudflare Strict - with Certificate Signing Request
Suppose for some reason you can not use given certs, there is another options then
Firstly create private key
# cleanup
systemctl stop nginx
rm tls.*

# create private key and certificate signing request (csr)
openssl req -new -newkey rsa:2048 -nodes -keyout tls.key -out tls.csr
# Country Name (2 letter code) [AU]:UA
# State or Province Name (full name) [Some-State]:Kiev
# Locality Name (eg, city) []:Kiev
# Organization Name (eg, company) [Internet Widgits Pty Ltd]:mac-blog.org.ua
# Organizational Unit Name (eg, section) []:cf
# Common Name (e.g. server FQDN or YOUR name) []:cf.mac-blog.org.ua
# Email Address []:[email protected]

# Please enter the following 'extra' attributes
# to be sent with your certificate request
# A challenge password []:
# An optional company name []:

# you can check what is inside our tls.csr like so
openssl req -noout -text -in tls.csr
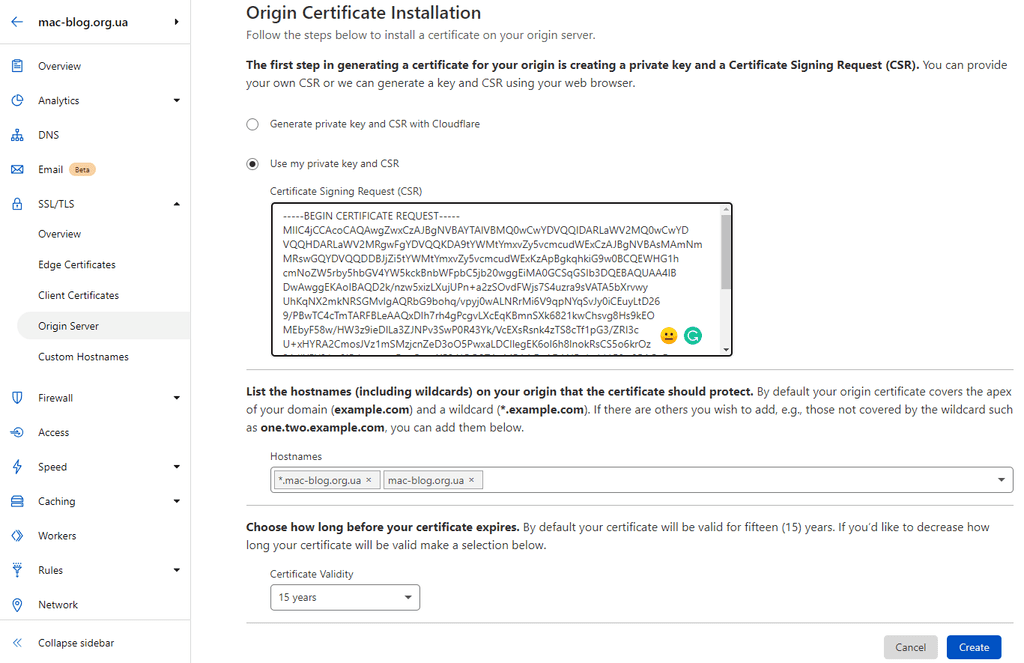
Once again navigate to SSL/TLS \ Origin Server \ Origin Certifiacetes \ Create Certificate
But now choose "Use my private key and CSR" and paste contents of tls.csr
Press create and you will get your certificate which should be saved to tls.pem
Now you can start nginx and everything should work
CloudFlare Access or get rid of VPN
Technicaly, because of wildcard and 15 years this approach can be used for a home lab without dealing with LetsEncrypt
Also we can put this certificates for Kubernetes instead of its self signed ones
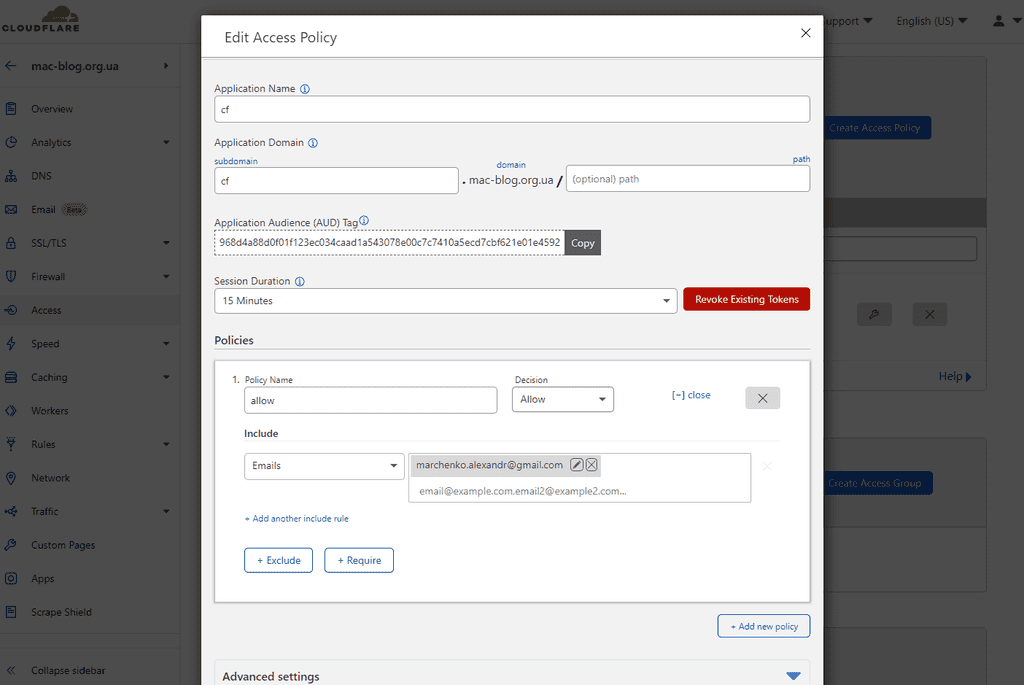
And even more, because of CloudFlare Access project we can restrict access without dealing with VPN, it is free up to 50 users
At the very minimum all you need to do:
- restrict access only to cloudflare
- inside cloudflare enable access
- add single rule
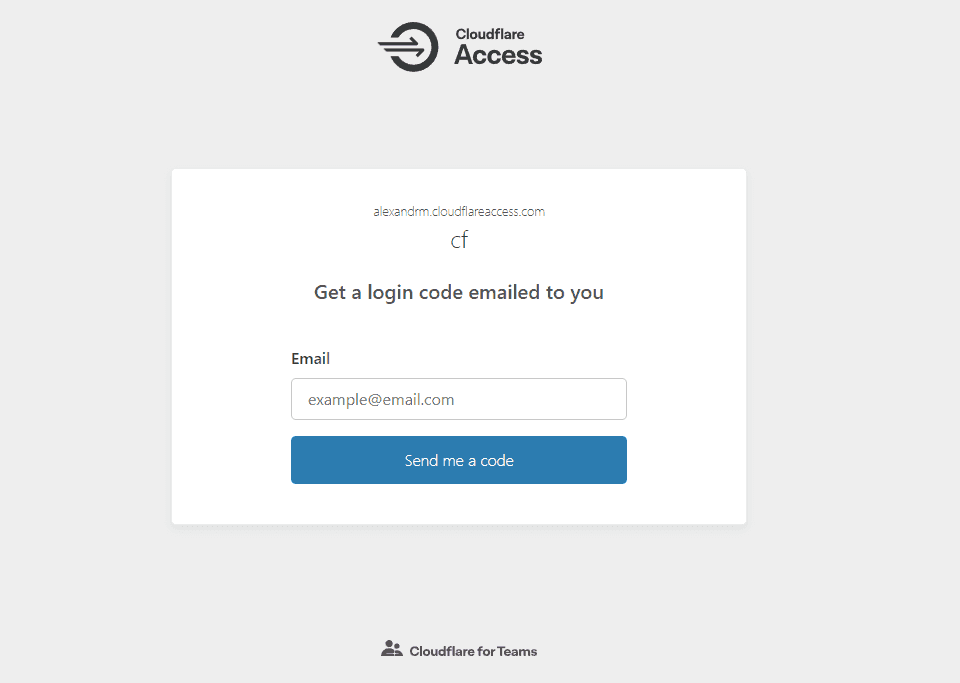
And from now on if you will try to connect to your app you will see something like:
Just submit your email and you will get your TOTP token to login
